
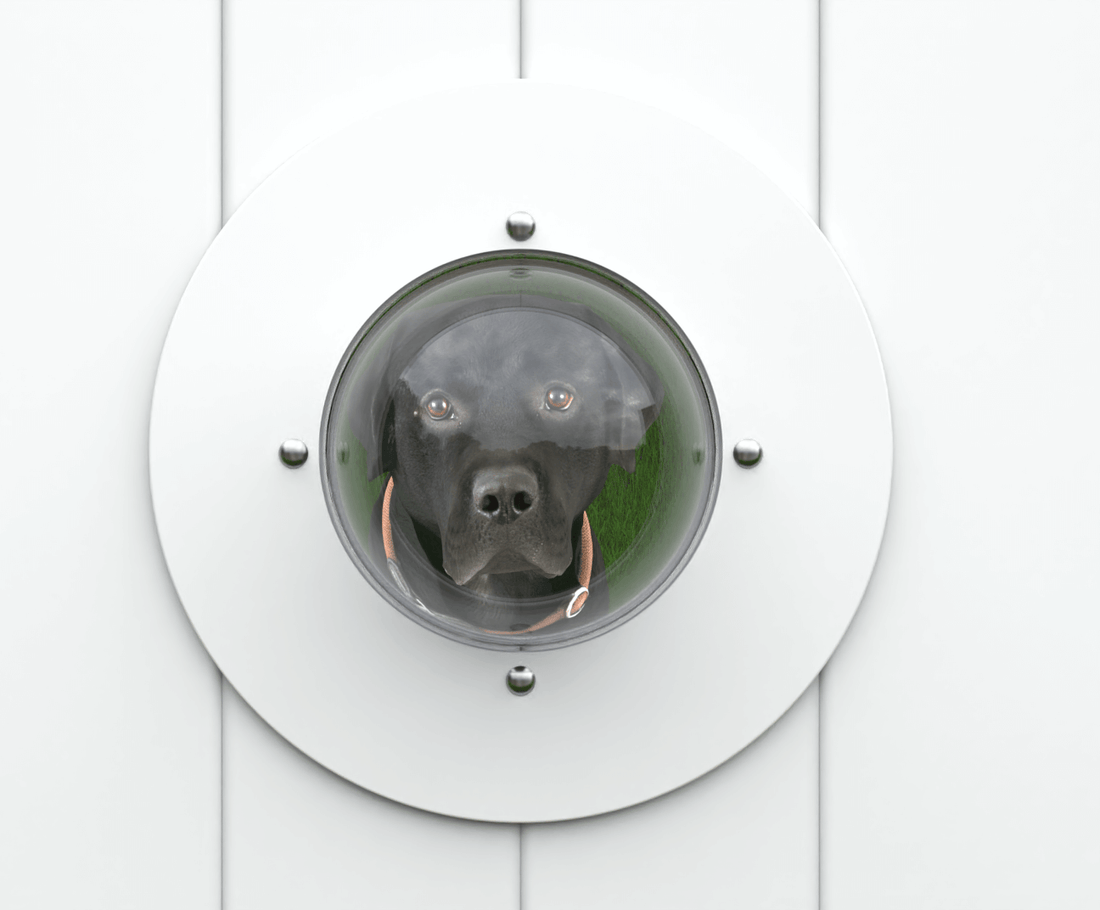
How to Install an Acrylic Dome Dog Window for Vinyl Fences
For pet owners keen to give their furry friends a richer life and a more interesting backyard, why not consider installing an Acrylic Dome Dog Window in your vinyl fence? It's the perfect upgrade. As the only product of its kind designed specifically for vinyl fences, it not only offers your pets a fascinating view to gaze out on the world beyond but also brings a little more joy into their daily lives.

Essential Tools and Supplies
Before diving into the installation, ensure you have all necessary tools and supplies on hand to make the process smooth and straightforward:
- 10 mm wrench
- Reciprocating saw or Oscillating Tool
- Tape measure
- Square
- Exterior PVC or plastic rated spray paint

Installation Steps
Step 1: Plan the Placement
First, determine the optimal location for the window based on your dog's height. Use the tape measure and square to draw an 11-inch by 11-inch square on the fence where you plan to install the dome.

Step 2: Cutting the Opening
Using your chosen saw, carefully cut out the marked square to create the opening for the dome.

Step 3: Prepare the Brackets
- Lightly sand the two brackets using 220-grit sandpaper.
- Wipe them down with a damp rag and let dry for 20-30 minutes.
- Paint the brackets with the exterior PVC spray paint in the color of your choice. Apply at least two coats for the best finish.

Step 4: Install the Brackets
This step requires two people—one on each side of the fence. Align the brackets on either side of the cut-out and snap them together securely.

Step 5: Attach the Dome
Position the dome over the brackets and start drilling the first hole through one of the pre-marked spots on the dome, making sure to align it perfectly.

Step 6: Insert the Bolt
From the outside of the fence, insert the supplied bolt through the newly drilled hole.

Step 7: Secure the Bolt
On the inside of the fence, place the washer and nut on the bolt and tighten them with the wrench until the bolt head is flush with the exterior fence surface.

Step 8: Apply the Cap Nut
Attach the cap nut over the protruding bolt inside the fence to ensure a smooth finish and extra safety.

Step 9: Complete the Installation
Repeat steps 5 through 8 for each remaining hole to fully secure the dome to the fence.

With the Acrylic Dome Dog Window installed, your pet can now enjoy a broader view of the outside world, potentially reducing anxiety and increasing their overall happiness.
